![]()


Gluing on Aluminium Horseshoes
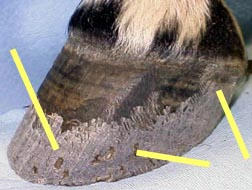
This is a nice application for the horse that has a chipped, brittle or thin wall. The hoof with large flares that are difficult to nail into and constantly lose their clinch allowing the shoe to work free, loosen up and eventually tear off. This also is a nice alternative for the horse that is sore in the hoof and may not be able to stand the concussion of the nailing process.
![]()
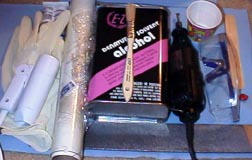
Materials Required
Safety Glasses
Dremel ¼ Carbide ball bit
Paper cup
Latex gloves
Rasp
Tongue depressors
Saran wrap
Hair dryer
Small brush
Denatured Alcohol
Play- Doh
Rusty's Deadloc 2 part acrylic Glue
(1 - 50 ml tube required per shoe application)
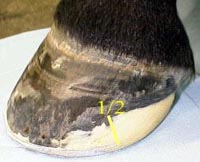
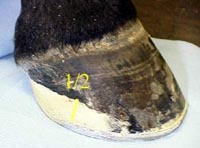
1. Trim the hoof
2. Establish the size and type of aluminum shoe
3. Shape and fit the shoe
I believe that, in completing this process, one of the first benefits is that once you prep the hoof and shoe for adhesion most of the handling will be done. This will limit the surface contamination factor.
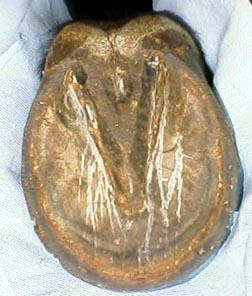
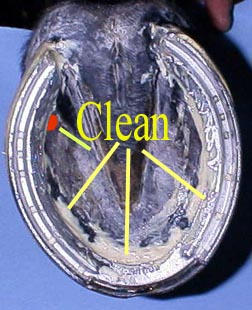
Examine the sole closely for bruises, abscess, seedy toe etc Note Play -Doh will be applied where the glue is not desired later in the procedure.
If you find several problem areas as referenced by the above suggestion, apply "Pure Gum Turpentine" for a couple days before continuing with this process.
Now rasp or use your Dremel tool to clean the outer hoof wall, old nail holes etc. Be careful not to touch the surface after prep work with your bare hands. Prep the shoe - bearing surface by passing your rasp lightly over this area.
I favor the approach of applying a light coat of "Denatured Alcohol" with a small brush to the prepped area, then wrapping hoof in Saran Wrap.

then give the horse a break.
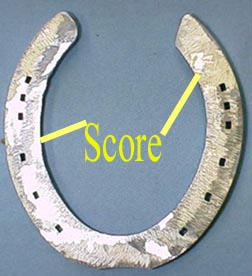
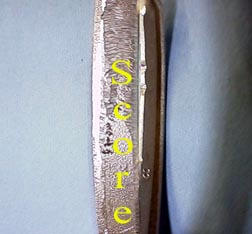
Lightly grind the hoof bearing surface and sides of the shoe. The intent here is to score the surface removing contamination and shoe-manufacturing marks to aid adhesion.
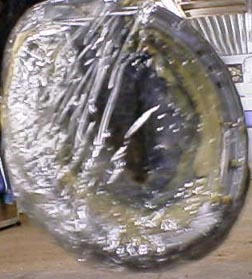
Cover shoe with paper towel or Saran wrap. Keeping surfaces uncontaminated by dust, fingerprints and moisture cannot be stressed enough!
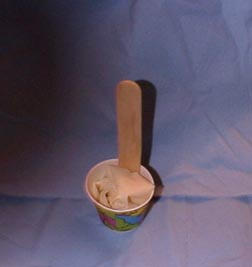
Place "Rusty's Deadloc" Glue, a two part acrylic, in paper cup and mix thoroughly. Put your latex gloves on.
Always wear safety glasses, latex gloves and have good ventilation when using any acrylic.

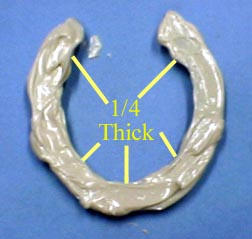
Apply a thick coat of adhesive to the shoe surface ¼ thick at least. This will allow for a base to form when applying to the hoof.
Apply glue with the tongue depressor.
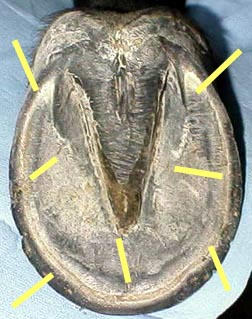
Apply Play- Doh to the bottom of the hoof where glue is not desired. Remember, if the hoof has abscess, deep bruises etc, consult your veterinarian before applying. It's better to find time to do the job right the first time than it is to find the time to do it right the second time!
As you build up your expertise in this area, these conditions will be easier to identify.
Applying shoe
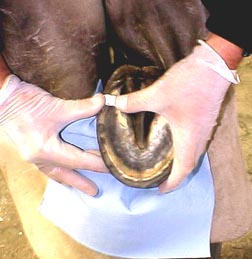
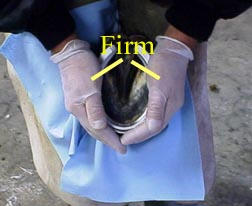
The shoe is now applied to the hoof, apply firm pressure to seat the shoe and fit to the hoof. Note; do not push excessively on the shoe. Your target is to have at least 1/16th of base glue around the entire mating surface.
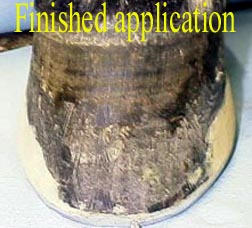
Remove saran wrap, clean off excess from the sole with hoof knife or dremel bur tool. Remove the Play-Doh by picking it out with nail.
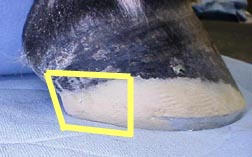
This makes a nice, professional looking application.
In summary this technique is one that takes the 3P's - preparation- patience - perseverance. Once you start to prepare the hoof and shoe, exercise plenty of caution in not to contaminate the surface. Your shelly walls, flares, chipping hoof wall problems will disappear. As with everything else, with a little experience you will find this to be a nice application to add to your practice.
To learn more about Rusty's DEADLOC adhesive go to the product page!
Good Luck,
Rusty Freeman
Rusty's Equine Hoof Repairs
![]()
![]()